

A mistake in the middle of a good take is a normal problem with a normal solution. The trick is to treat picture and sound as separate jobs: the picture needs something to cover the join, and the sound needs to stay continuous across it. Do both and the removal is invisible, even when the two halves were recorded minutes apart. Do only one and the cut announces itself, usually as a small jump that viewers notice without knowing why. The frame you choose matters more than the effect you apply, and both matter less than the audio underneath.
Find It, Then Mark It
Waveform and Thumbnail Scrubbing
Start by finding the mistake precisely, because a removal that begins a frame late leaves a fragment of the problem behind. Watch the waveform while you scrub: a stumble shows as a break in the shape, and a breath shows as a small mound. Zoom in until a single frame fills the screen, then mark the boundary. This part is slow on purpose, and it is the most useful minute in video editing, because everything after it depends on the boundary being correct. Scrub slowly with the waveform visible, because a stumble in speech is easier to see as a shape than to hear as a word. A boundary that is a frame out leaves a fragment that nobody can name and everybody can hear. A removal that sounds clean but watches badly is still a removal, so check the picture and the audio separately. One pass each, in that order, is usually enough to know whether the repair will hold.
Mark In and Out Precisely
Marks are the contract between what you heard and what the timeline will do. Set the in point just before the first bad sound and the out point just after the last one, then check the frames either side. Leaving a little air on both ends is safer than cutting tight, because air can be trimmed later while a clipped word cannot be restored. Save the sequence before you start, so a bad attempt costs nothing. Marking in and out precisely is what allows the removal to be a clean splice rather than a patch.
Cover the Gap
Cutaways and B-Roll
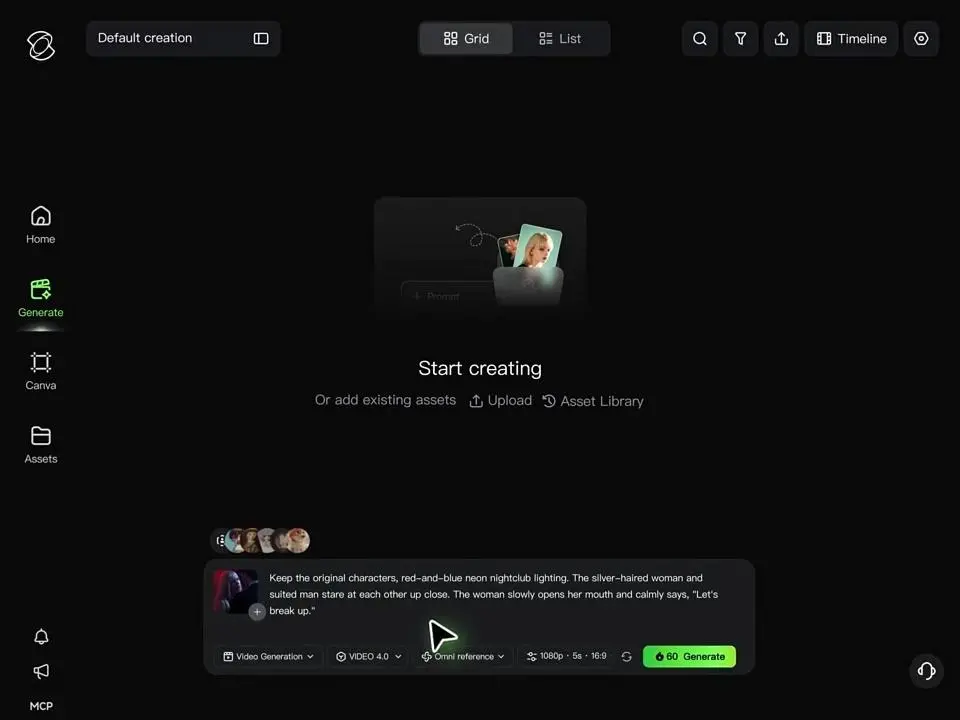
The simplest way to hide a join is to show something else while it happens. A cutaway to hands, a screen, a listener or a detail gives the audio somewhere to continue and the viewer something to look at, and two seconds is usually enough. The cutaway should belong to the scene rather than decorate it, which is why the best ones are shot on the day rather than found in a library. When none was shot, one can now be described: Kling AI Video Editor changes what is inside a frame — an object added, a background replaced, the angle moved — while the performance and the timing stay as recorded, with Kling VIDEO 3.0 Omni matching the light of the take it joins while the cut stays as it was. Shoot them when you can; describe them when you cannot.
Punch-In or Reframe
When there is no cutaway, a small change of framing can cover the join. Scale the second half up by ten percent, or shift it slightly, so the cut reads as a new angle rather than a jump. Push too far and it looks like a mistake of a different kind. This is also the trick that keeps a long interview visually alive without adding anything to the scene. A slight punch-in changes the framing enough to explain the change, and it is invisible when done by ten percent. A ten percent push is invisible and a thirty percent push is a new shot, which is a different decision. Staying inside ten percent keeps the change invisible, which is the only goal worth having here.
Make the Join Disappear
Room Tone Bridging
Two halves of a take rarely share the same background, and the change is what the ear notices first. Lay a continuous bed of room tone across the join, matched to the quieter of the two, and the splice disappears. Keep the bed low enough that it is felt rather than heard. This is the step most people skip, and the reason most removals still sound like removals. Room tone is the cheapest repair in the application, and the most frequently forgotten. Match the tone to the quieter of the two halves and the splice disappears under everything else.
When the Gap Is Too Long
A repair is only as good as the material around it. When the gap is longer than a cutaway can cover, the honest options are to shorten the thought, cover it with a new angle, or rebuild the moment from what was recorded. The first two are editing; the third used to mean going back to set. Shorten first, cover second, rebuild third, and the sequence keeps as much of the original performance as it can. Write down which of the three you chose, so the next note does not reopen the same decision.
Conclusion
Removing a mistake is not one decision but three: where it starts, what covers it, and what the ear hears underneath. Get the frame right and the picture forgives almost anything. Get the sound right and nobody knows there was a cut at all. Three steps, each a few minutes, and the take you almost lost is usable again. The take survives, the mistake does not, and the seam is the only evidence left behind.
Also Read
- CF Meaning in Text: What It Means in Chats, Social Media & Online Conversations (2026 Updated)
- 18+ Unique Similes for Life (2026) – Creative, Deep & Easy Examples
- TS Meaning in Text : Full Form, Uses, Examples & Social Media Trends (2026 Updated)